This topic provides detailed instructions to help you get up and running as soon as possible with the xamPropertyGrid .
The following topics are prerequisites to understanding this topic:
This topic contains the following sections:
This procedure explains step by step the operations necessary for adding the xamPropertyGrid to your page.
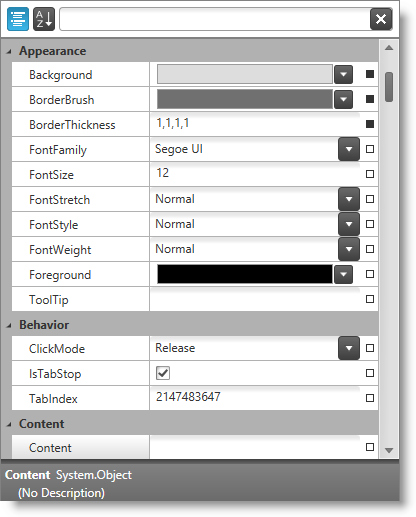
The following screenshot is a preview of the result:

Following is a conceptual overview of the process:
1. Add Assembly references
2. Add Namespaces
3. Create xamPropertyGrid
4. Create an object (optional)
5. Bind/set object(s) for editing with the xamPropertyGrid
The following steps demonstrate how to add the control to your page.
Add the following NuGet package reference to your project:
Infragistics.WPF.PropertyGrid
For more information on setting up the NuGet feed and adding NuGet packages, you can take a look at the following documentation: NuGet Feeds.
Add the following namespaces:
In XAML:
xmlns:ig="http://schemas.infragistics.com/xaml"In C#:
using Infragistics.Controls.Editors;In Visual Basic:
Import Infragistics.Controls.EditorsCreate and put the xamPropertyGrid on your page:
In XAML:
<ig:XamPropertyGrid x:Name="xamPropertyGrid1">
</ig:XamPropertyGrid>Create the object which properties will be edited by the xamPropertyGrid .
In C#:
Button b = new Button();In Visual Basic:
Dim b As New Button()Set the object from the previous step (or an object of your choice) to the SelectedObject property.
In C#:
this.xamPropertyGrid1.SelectedObject = b;In Visual Basic:
Me.xamPropertyGrid1.SelectedObject = bThe following topics provide additional information related to this topic.